Author Archives: Anne

Anne's avatar

About Anne

Family: my wonderful husband, Adam, and our amazing little girl, Isla Dwelling: a small Cape Cod in the suburbs Real job: Human Resources Coordinator and Office Manager for DeskArmor, LLC. Homemaker tip: Even the simplest food can look elegant if you serve it properly. Presenting food on adorable platters is an easy way to impress guests. I am ashamed to admit that: I have never used a lawn mower. (I am blessed with a husband who takes pride in his yard) Three foods I can’t live without: cheese, olive oil, and chicken fingers Most important lesson learned: being a mom is the hardest job you’ll ever love One thing I am afraid of running out of: Clorox anywhere spray…and diapers

Haute Wedding: Anne & Adam

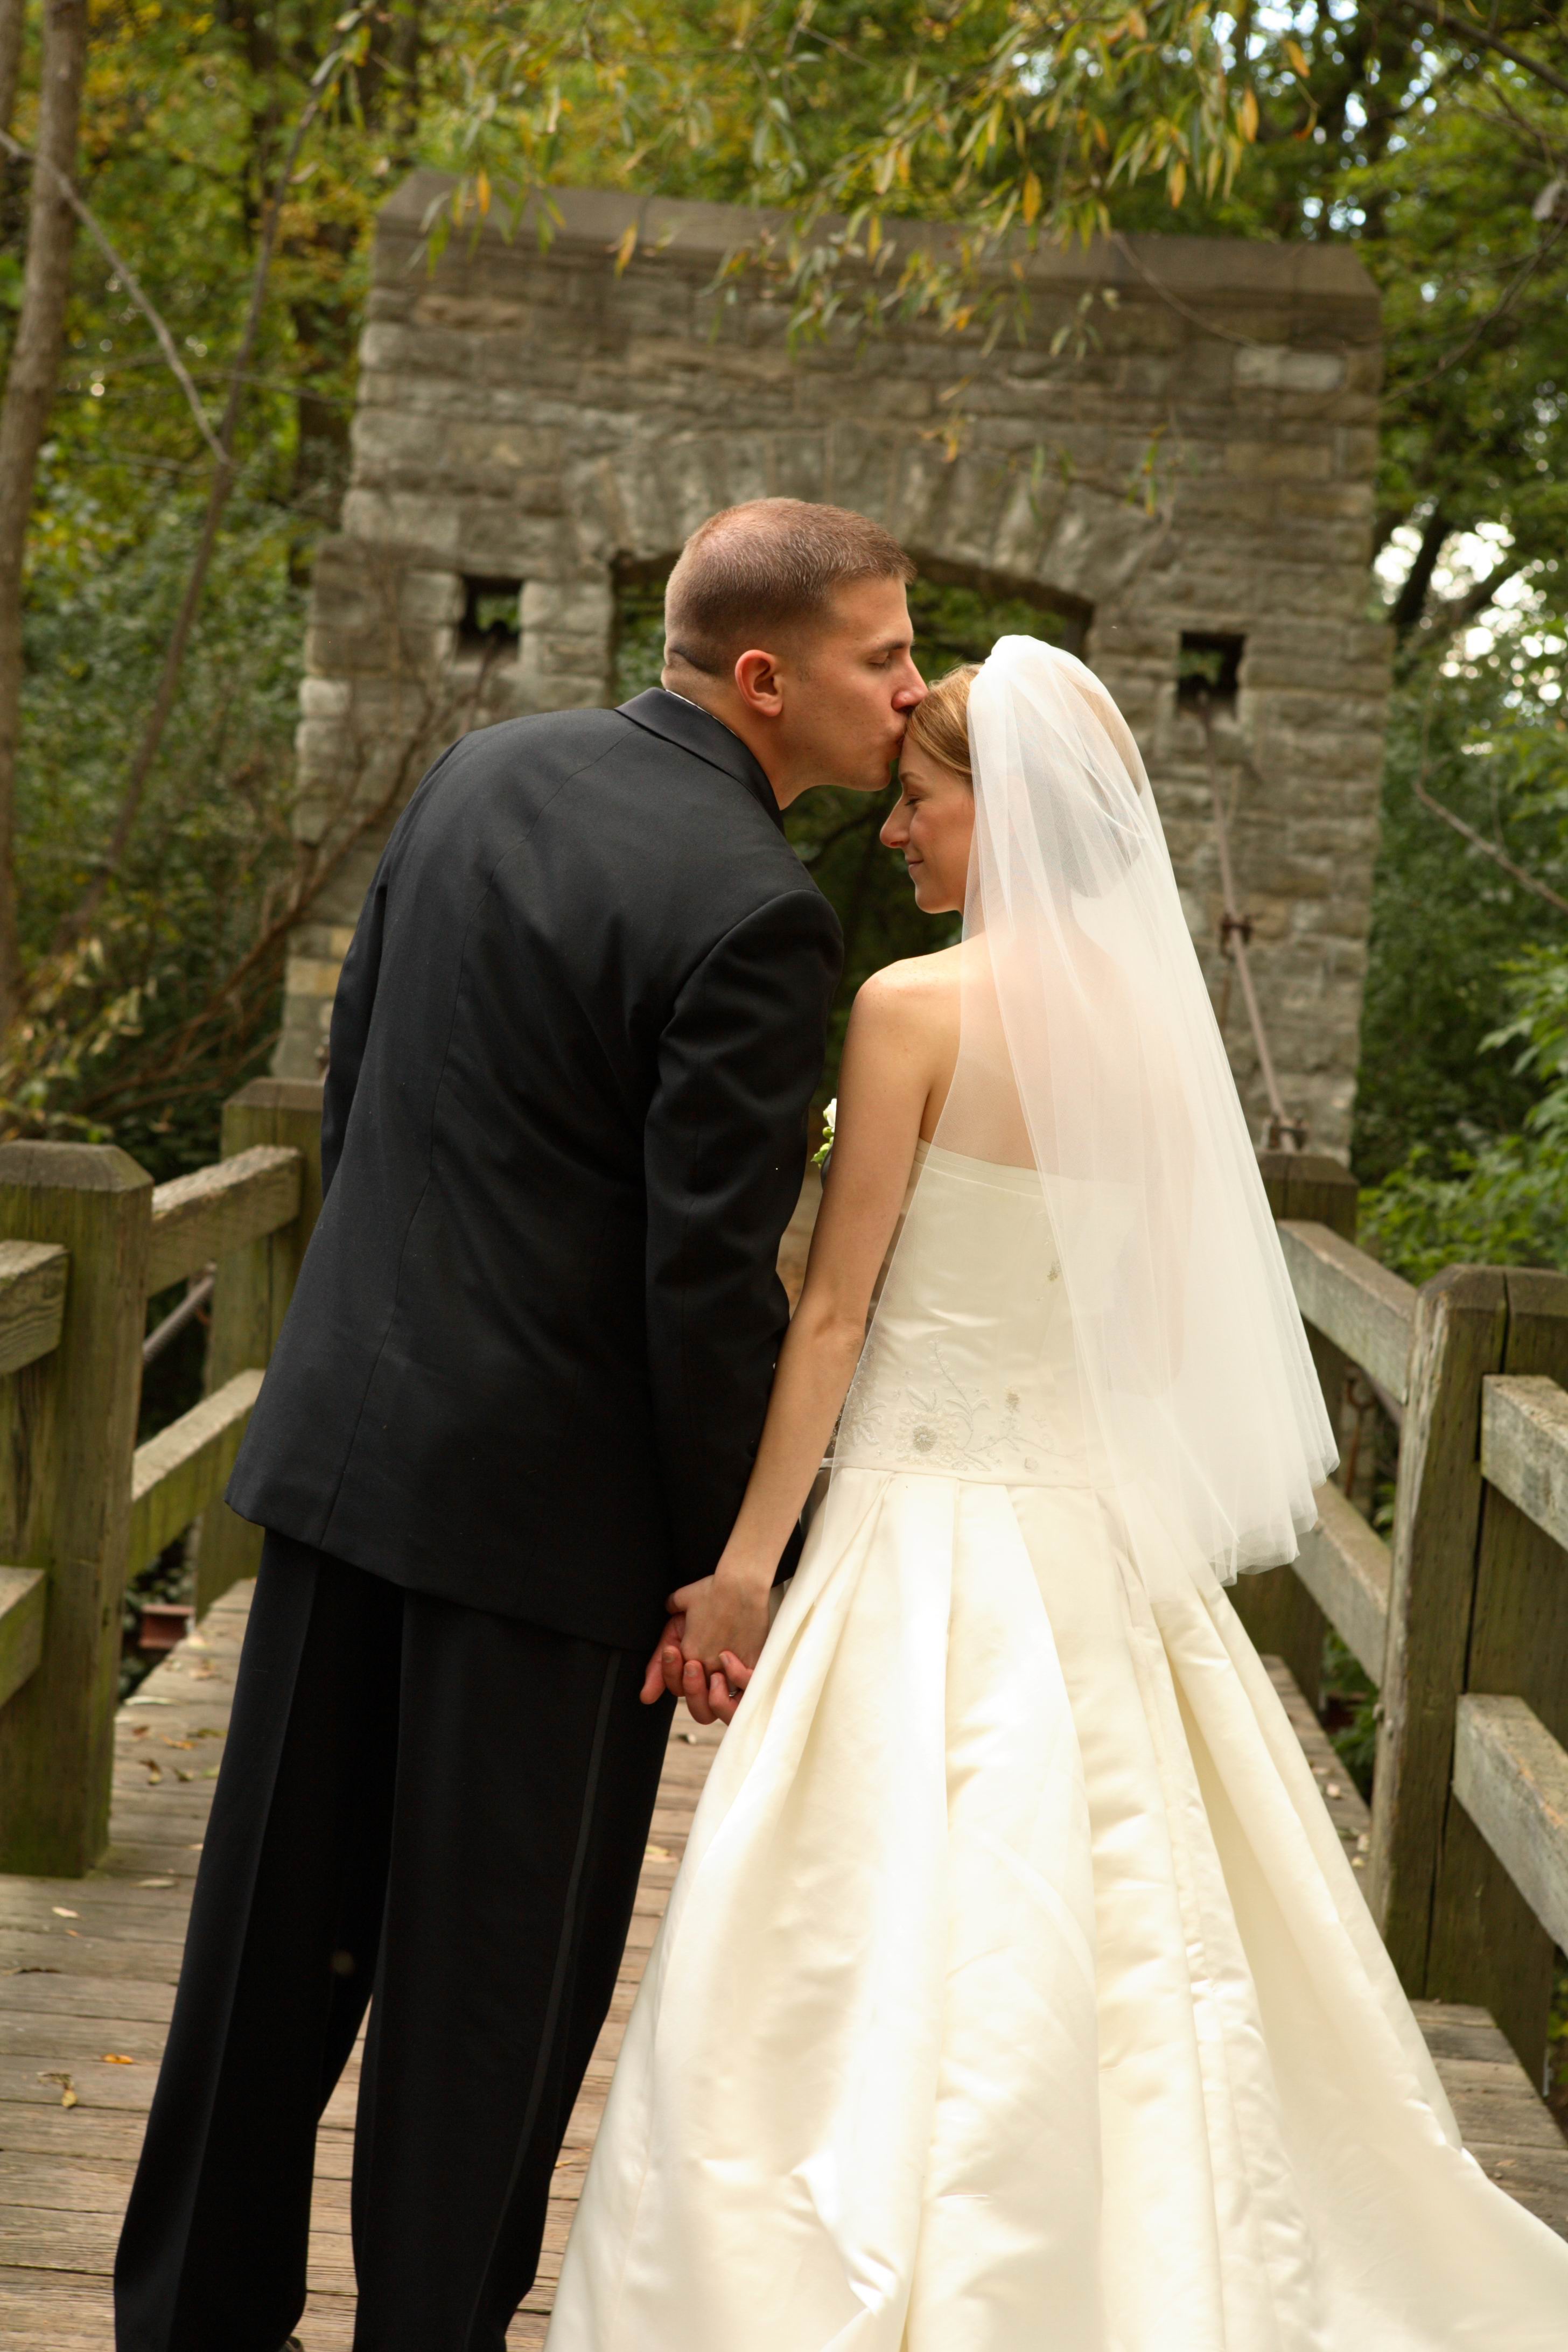
Adam and I got married on a beautiful rainy day in late September.  Even with the uncooperative weather, we still had a perfect day!

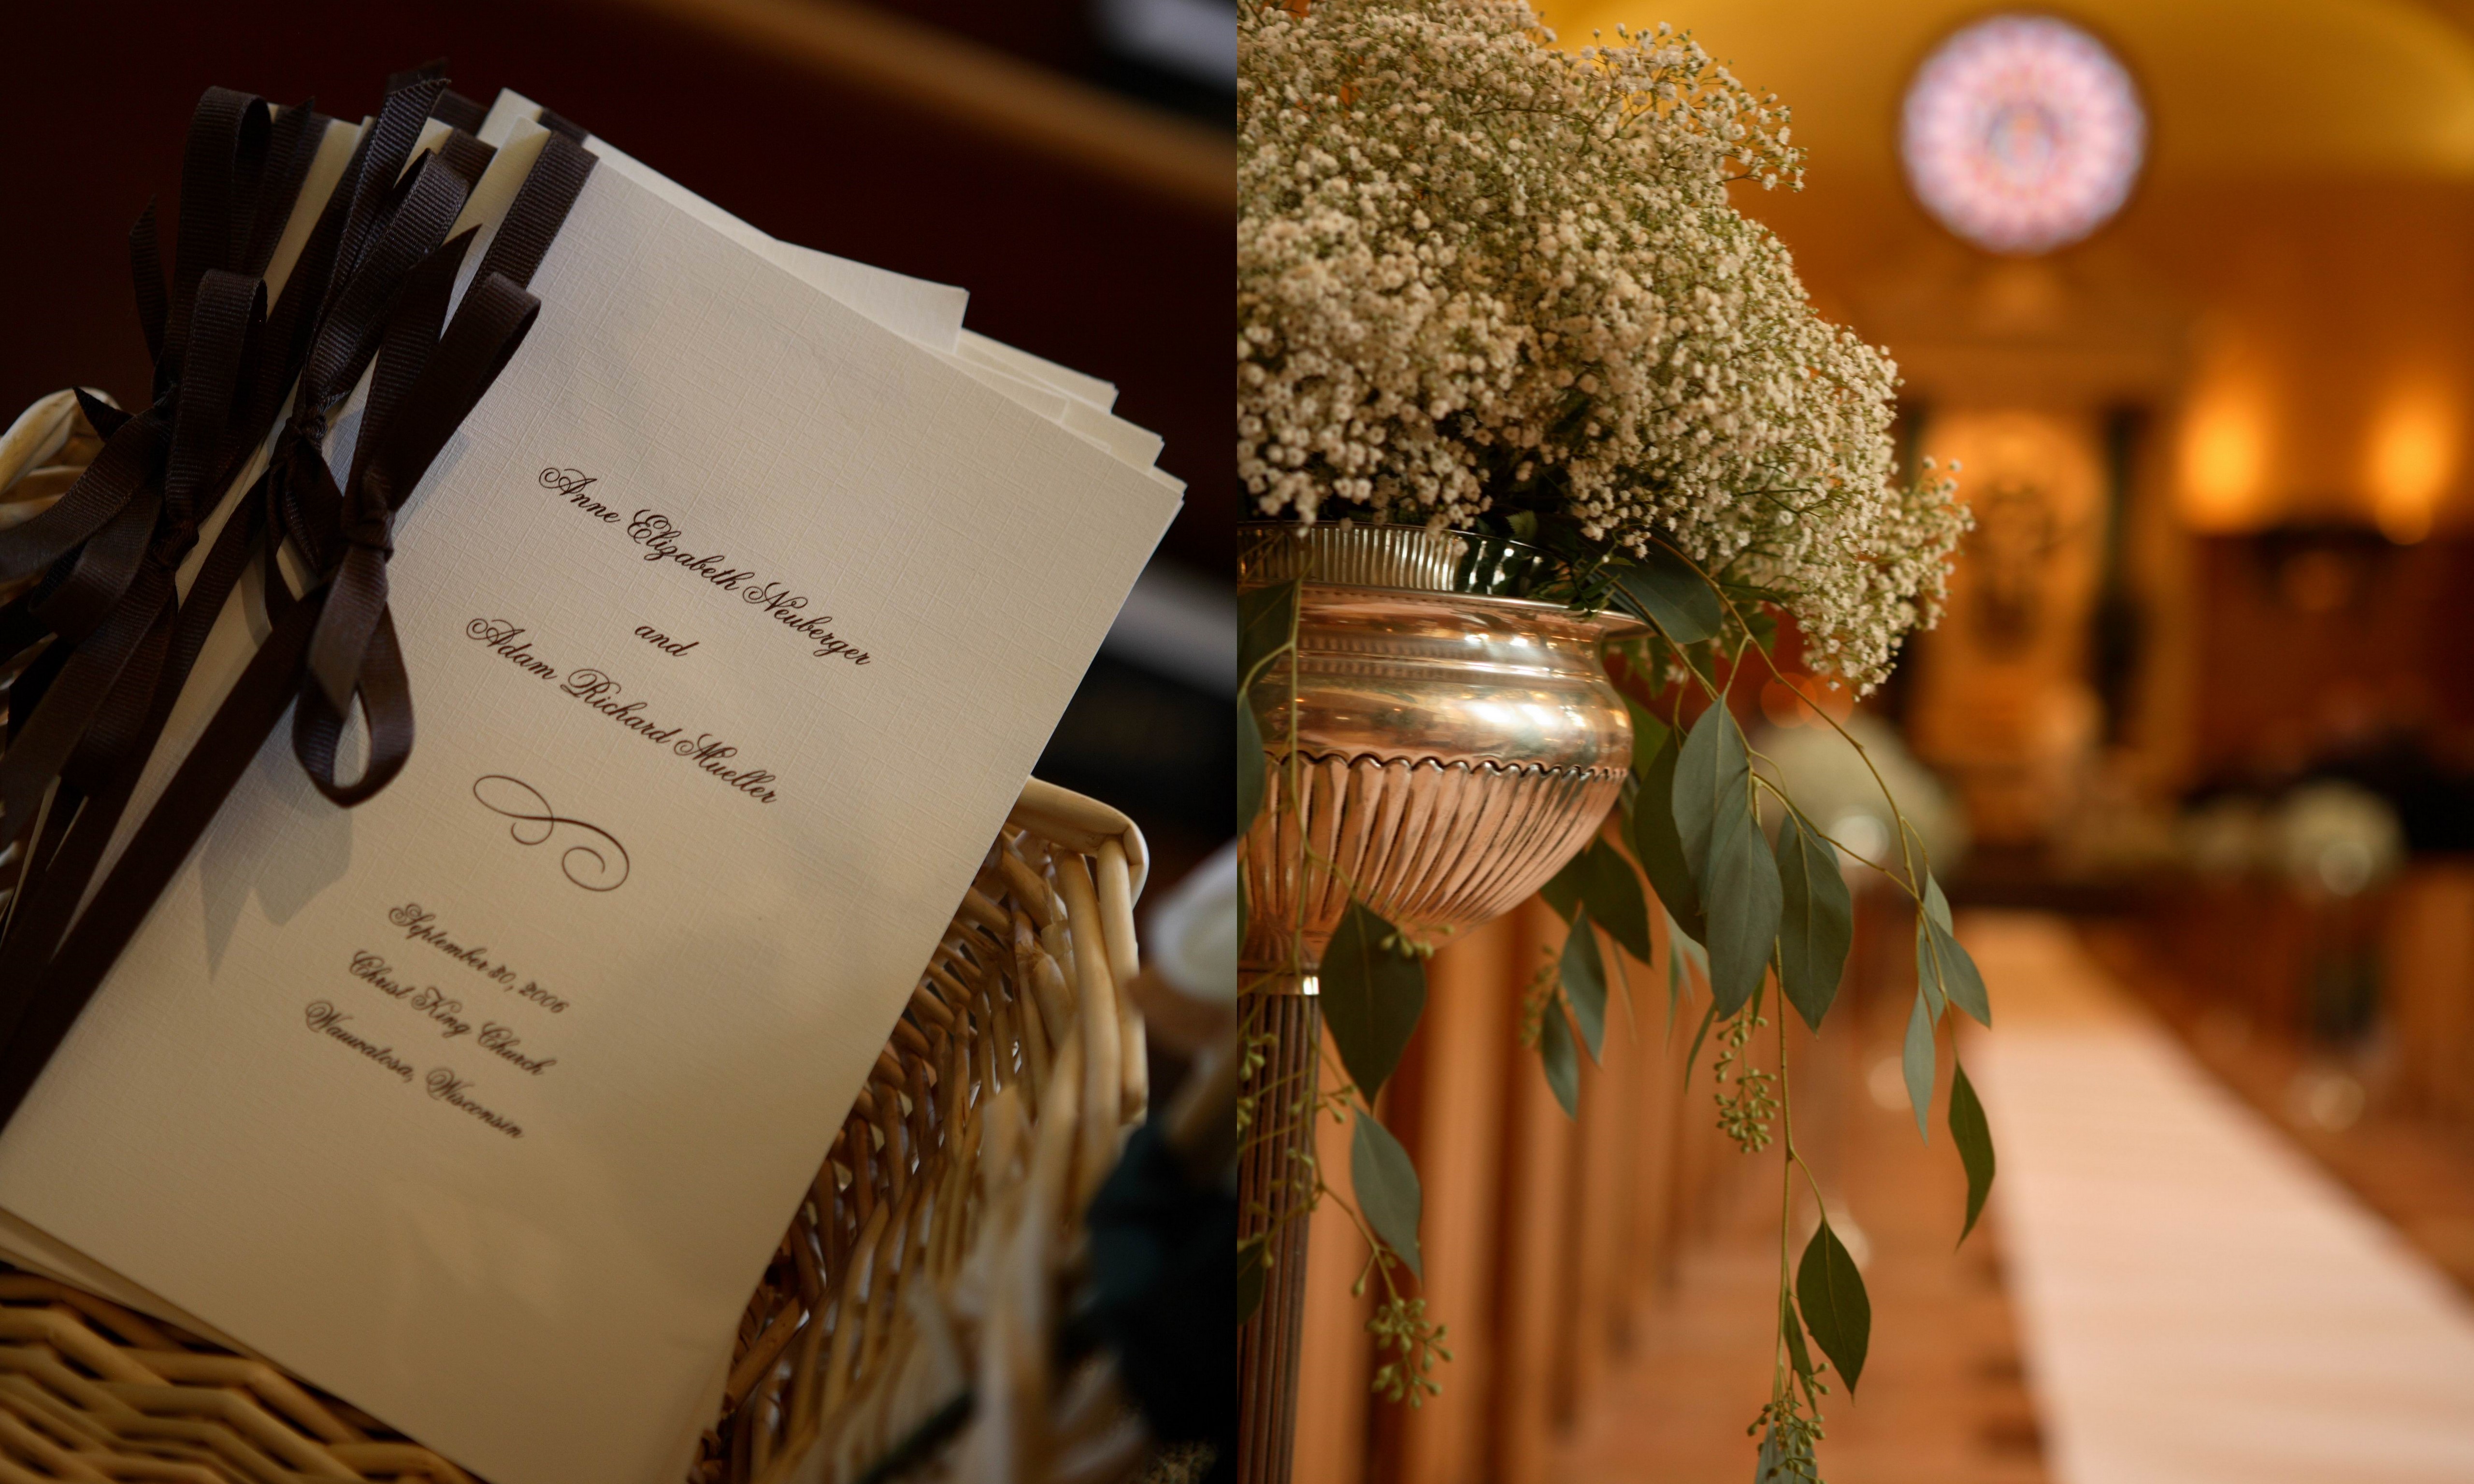
We had a brown and sage green wedding with the colors noticeable in every detail.  Inexpensive bunches of babies breath were a main focus of our wedding that gave the event an antique feel and helped keep us on budget.

It was both fun and exhausting to plan, but looking back it was worth every minute!

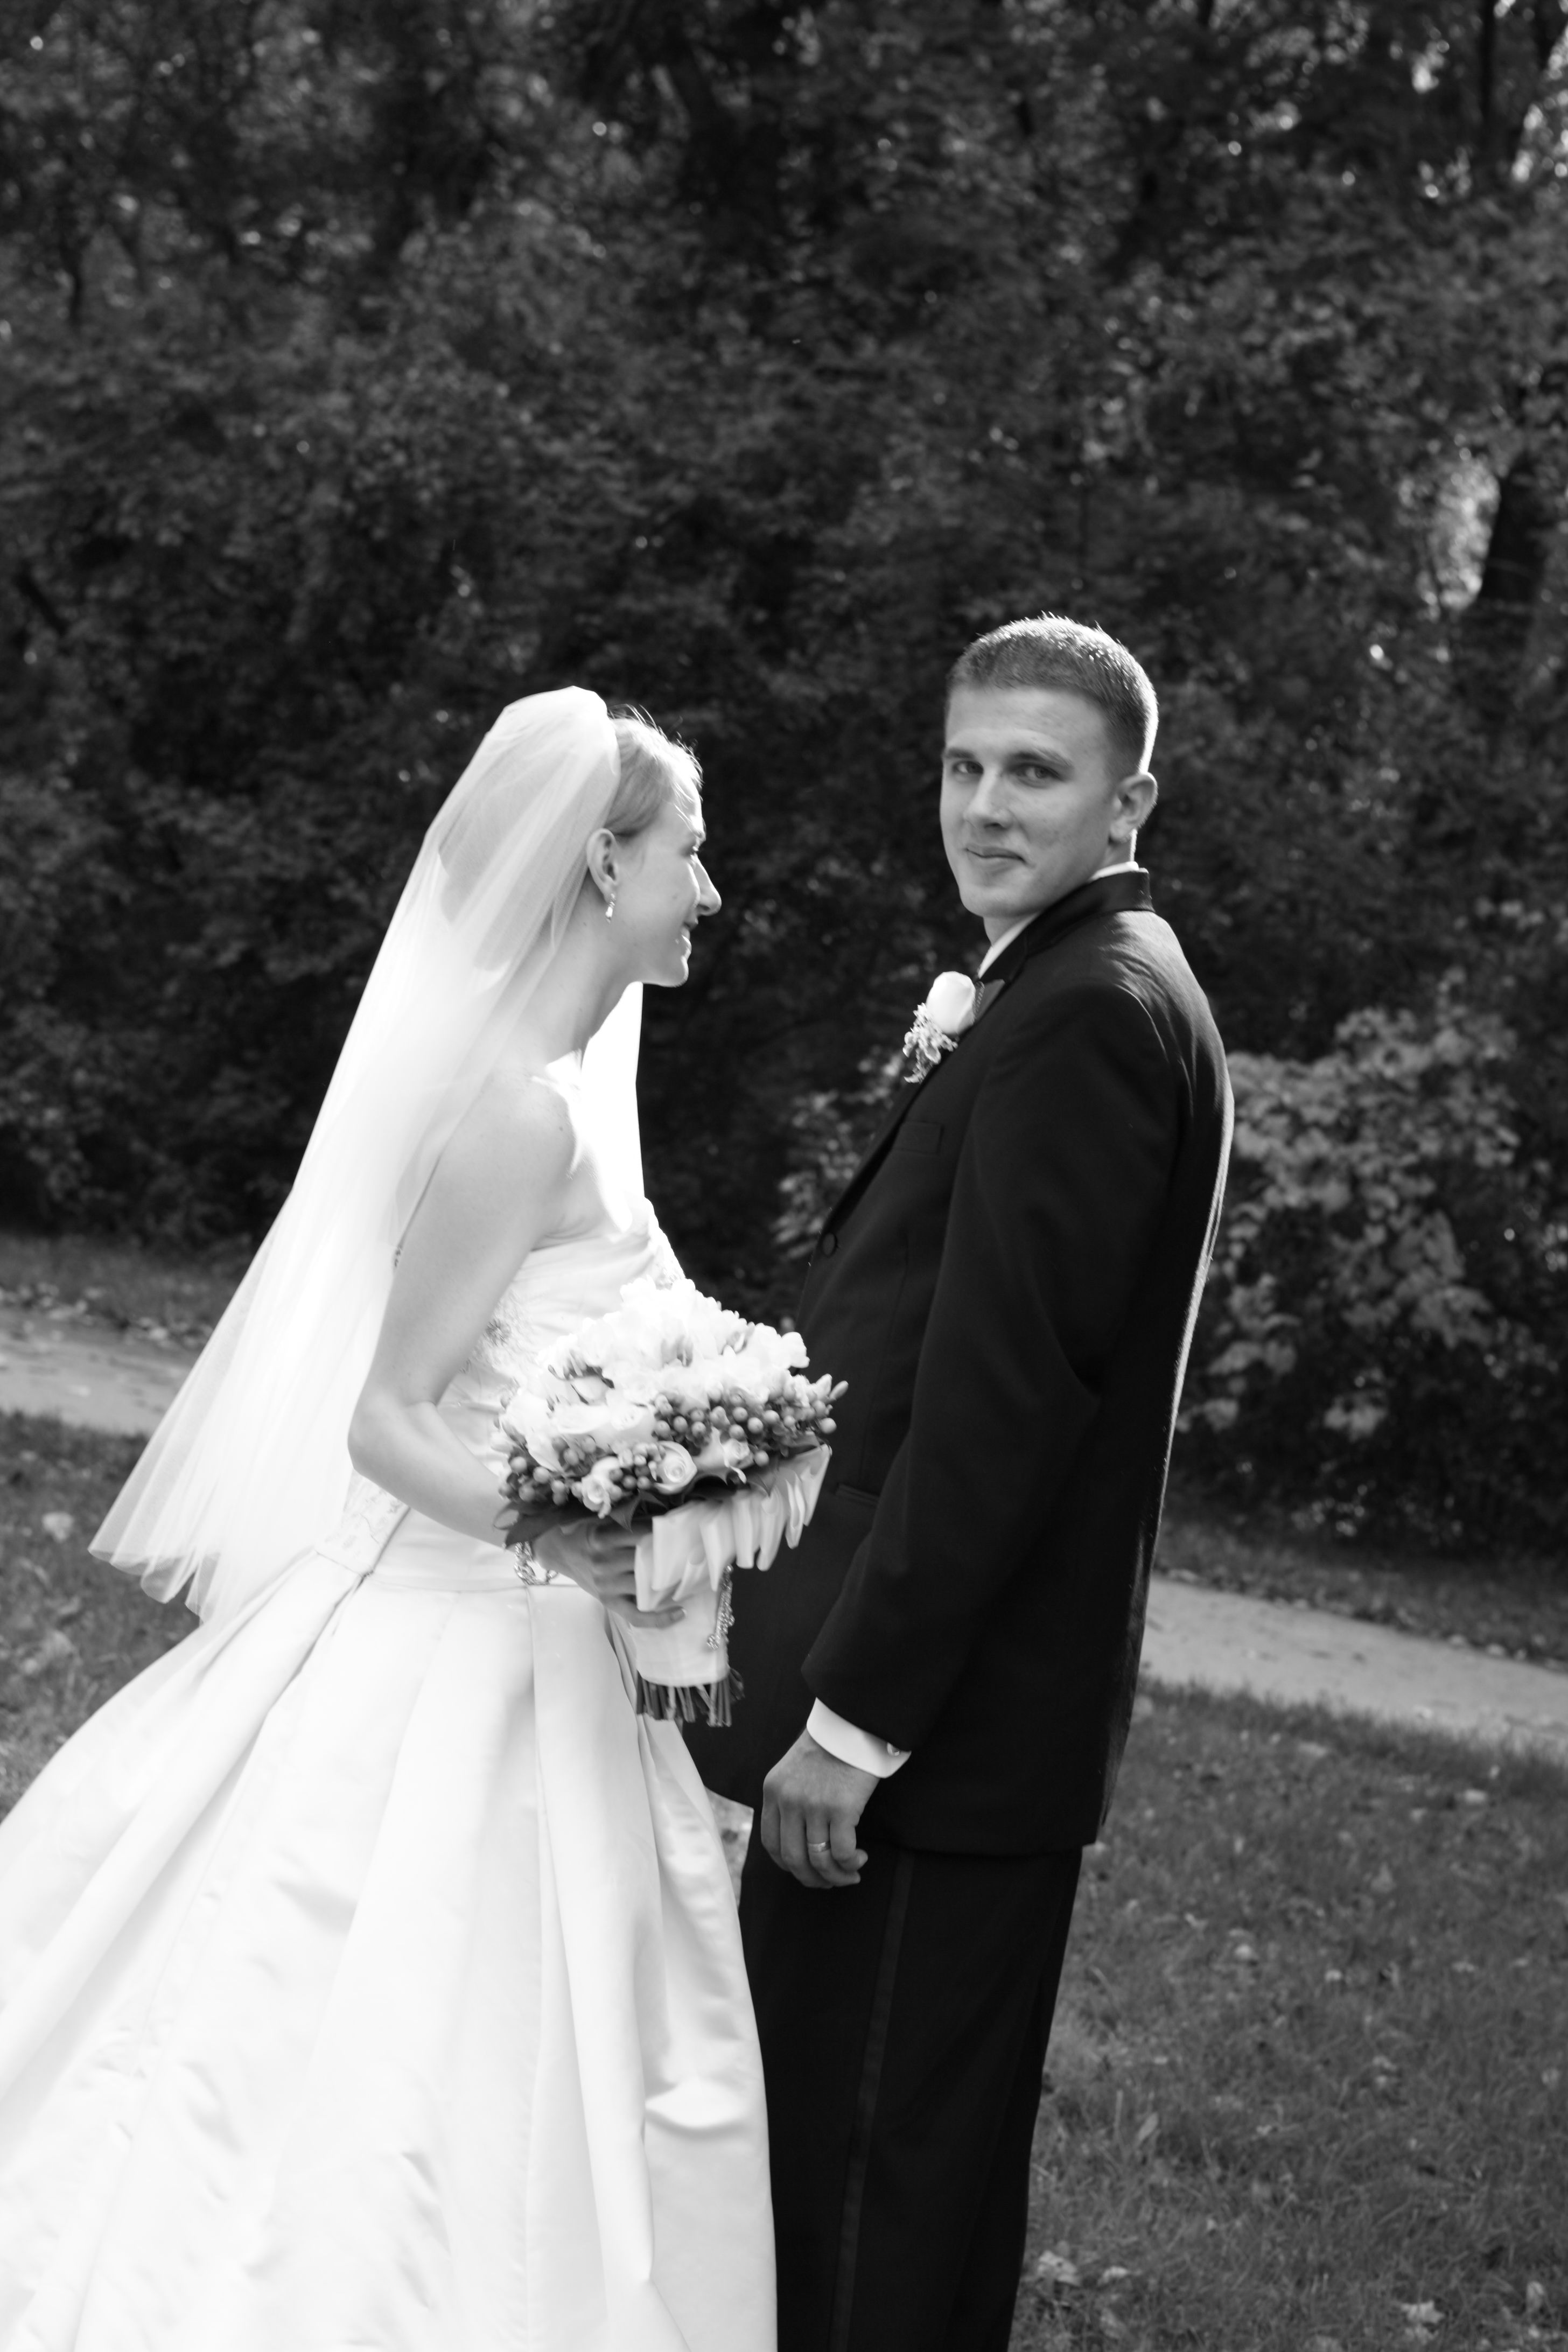
I carried a bouquet of ivory roses, lilies and green berries.

I wore a dropped waist Melissa Sweet dress that was quite difficult to get into!


My beautiful bridesmaids wore brown tea length dresses and carried babies breath bouquets wrapped in brown ribbon.

We had 4 adorable flower girls who wore ivory dresses with brown sashes and crowns of babies breath with brown ribbon accents.

At the reception, tables and chairs were dressed in ivory tablecloths with brown accents.  High and low bunches of babies breath and candles were on each table.

Our place cards were pear-shaped candles with the names and table numbers on each leaf.

I swapped my veil for a fresh gardenia in my hair at the reception.

Our guest book was a photo album made on mypublisher and guests signed in between the pictures.

At the reception, the bridesmaids were treated to flip-flops for dancing and the flower girls had special gifts waiting at their table to help keep them occupied through dinner.

Our cake was simple with white icing and finished with brown and sage ribbon.

The bride and bridesmaid bouquets were put in vases and placed on the head table for decoration at the reception.

And like any great wedding, we spent the rest of the night on the dance floor!

Looking back on our pictures reminds me of what an amazing day it was!

Pictures were taken by the fabulous Sarah Immel.

4 Comments

Filed under Weddings

Yogurt Cake

This past weekend I was invited to a dinner party at fellow HAP blogger Stef’s house.  I was asked to bring a dessert which is not an easy task when the hostess does not like chocolate.  Actually I am the only HAP blogger who likes chocolate, both Stef and Katie refuse to eat it.  (Most people gasp when they hear this.)  So, I scrambled to find a non-chocolate recipe to bring to the party.

I came up with this perfectly simple and delicious Yogurt Cake.  It is a vanilla cake that is dense and has a very rich texture.  Sprinkle it with powdered sugar and you have a sweet and simple spring dessert.

Yogurt Cake

2 cups all purpose flour
1 1/4 cups sugar
1 teaspoon baking powder
1/4 teaspoon baking soda
1/4 teaspoon salt
1 cup plain whole milk or lowfat yogurt
1/3 cup vegetable oil
2 large eggs
2 teaspoons pure vanilla extract
powdered sugar for dusting

Preheat your oven to 350 degrees. Grease and flour the bottom and sides of a round 9 inch cake pan.

Whisk together the dry ingredient in a large bowl.

In another bowl, mix together the yogurt, oil, eggs and vanilla. Pour the yogurt mixture into the flour mixture and stir until just combined.

Pour the batter into the pan and bake for about 40 minutes or until the top is golden brown. Cool the cake for 5-10 minutes and turn out on a wire rack to remove the cake. Turn it right side up and allow it to cool completely. Dust with powdered sugar, slice and serve.

But don’t worry, chocolate lovers, I promise to post more recipes like this so we can get our chocolate fix.

3 Comments

Filed under Cook, Treats

Turning our House into a Home

I thought I’d give you all a quick update on what’s going on in my world right now.  A couple weeks ago my husband and I bought a new house.  It is a “fixer-upper” as they say and we are quite overwhelmed with the projects we have gotten ourselves into.  Below are some pictures of our new house in progress along with some of the projects we are working to complete.  Stay tuned to see some before and after pictures and lots of DIY tips!

Let’s hope, for our sake, that the after pictures are in the not-s0-distant future!

For starters, our oak floors will be refinished and the entire house will get a new coat of paint.

Our kitchen will get a face lift: new flooring, counter tops and freshly painted cabinets.

Carpet was removed from almost every room revealing some pretty awesome wood floors in some rooms!

Other rooms revealed some pretty ugly stains that will need to be taken care of.

The exterior will also need a lot of work!  New roof, new landscaping and lots and lots of paint.

It is an understatement to say that we are looking forward to the day when we will be able to sit back and enjoy our new home.  Unfortunately, I am not sure that day is in the near future.  We’ll just take it one step at a time!

What’s the next project on your list?

6 Comments

Filed under DIY

Pink and Brown Ladybug Party

My niece, Isabelle, just turned one and my sister threw her the most adorable birthday party.  It was a pink and brown ladybug party and she thought of every detail!

The house was decorated with pots of planted grass that were adorned with pink ladybugs!

Flying ladybugs hung from the lights thoughout the house.

Pink and brown were the colors of the day!  The napkins were wrapped in pink and brown and tied with coordinating ribbon.

Guests snacked on “bug bites” which were PBJ’s and cream cheese with strawberry jelly sandwiches shaped to look like ladybugs.

All food had adorable tags that were created with pink paper and a ladybug stamp.

Guests sipped on pink ladybug lemonade from brown cups that had a pink ladybug stickers created by Ladybug Labels.

No ladybug party would be complete without ladybug cupcakes!

The birthday girl had a special outfit too!  A pink tutu and headband made by Sweetie Pie Tutus with a ladybug shirt created by Sticheroos.

As favors, guests were given tins filled with pink and brown M&M’s and topped with an adorable ladybug tag also created by Ladybug Labels.

Everyone, especially Miss Isabelle, enjoyed a wonderful party!

8 Comments

Filed under Birthday, Entertain, Family

Make your own Salad Dressing

Spring and summer will bring fresh salads to many dinner tables and making your own salad dressing is surprisingly easy.  When you make dressing, you are able to tailor it to your taste and control the ingredients, making it a healthier option.  It all comes down to 4 main components: base, oil, acid and seasoning.  Here is a breakdown of each ingredient and how to use them.

Base
First give your dressing a base.  A base will give the dressing flavor and will also help to emulsify the dressing and hold it together.  The amount of base you need will depend on your taste and the amount of dressing you are making.  I usually start with 1-2 tablespoons.  Some bases to try include:

Dijon Mustard
Raspberry jam
Mayonnaise
Honey

Oil
Oil will be the foundation for your dressing.  When you add your oil to the base, you will want to stream it in slowly while you whisk.  Most people go directly to Olive Oil, but there are a variety of oils you can choose from and each will give you a different flavor.  Here are some examples of oils to try in your dressing:

G rapeseed Oil
Olive Oil
Canola Oil
Sunflower Seed oil

Acid
Adding an acid to your dressing will further emulsify it and will help balance the flavor of the oil.  Vinegars make a great acid for salad dressing, but any kind of citrus such as lemon, grapefruit or lime will work as well.  Here are some acids to try:

Red wine vinegar
Balsamic vinegar
Grapefruit Juice
Champagne vinegar

Seasoning
Finally, seasoning your dressing to taste will help to refine the flavor.  It can be something as simple as salt and pepper or something as fresh and chopped herbs.  Here are some examples of seasonings to try:

Fresh chopped basil
dried tarragon
Garlic powder
dried dill

When you are making your dressing, be sure to whisk while you add each ingredient and don’t be afraid to taste as you go and experiment with new flavors! Making your own dressing is one of the best ways to try new things while cooking.

2 Comments

Filed under Cook

Potato Corn Chowder

While looking forward to the spring and summer cooking that lies ahead, there is a part of me that will mourn the soups and stews of winter.  Something is so comforting about the perfect bowl of soup.  This Potato Corn Chowder recipe is a great soup for cool spring nights.  It is still hearty like a winter soup, but uses ingredients that speak of the summer months ahead.

Potato Corn Chowder

4 slices of bacon, cut into 1″ pieces
2 Tbsp. unsalted butter
1 cup diced onions
3 scallions (green onions), white bulbs and 3 inches green, diced
2 Tbsp. unbleached, all-purpose flour
4 cups chicken stock
2 medium potatoes, peeled and cut into 1/4-inch dice
1 cup half-and-half
4 cups cooked corn kernels, drained
3/4 tsp. coarsely ground black pepper
Salt, to taste
1 large red bell pepper, cut into 1/4″ dice

Cook the bacon in a large soup pot over low heat until fat is rendered, about 5 minutes. Add the butter and stir until melted, then add the onions and scallions and cook over low heat until transparent or for about 10 minutes. Add the flour and cook another 5 minutes, stirring constantly.

Next, mix in the stock and potatoes. Continue cooking over medium-low heat until the potatoes are just tender, about 15 minutes. Add the half-and-half, corn, pepper, and salt. Cook about 10 minutes, stirring occasionally.

Finally, add the bell pepper and cook an additional 5-10 minutes.

Serve with your favorite cheese on top and warm crusty bread.

2 Comments

Filed under Main Dish

Homemade Baby Food

When my daughter started eating solids, I made her a promise.  I would not feed her any baby food that I would not also eat myself.  After opening and tasting 2 jars, I realized we had a problem.  The consistency and the flavor the jarred baby food was just all wrong to me.  So, I decided to make my her baby food myself.

Besides having better flavor, I quickly realized that making baby food also had other benefits.  It created much less waste than purchasing and throwing away all of those baby food jars, which made it an earth friendly option.  It also was significantly less expensive.  For example, one 2.5 oz jar of Gerber peas will cost about $.70 or $.28/oz.  I was able to purchase a small bag of frozen peas on sale for about $1.00 and from that bag made 20 ounces of baby food.  That’s only $.05/oz for home made pureed peas.  Making the peas instead of purchasing them was a $.23/oz savings!

I will admit, however, that as a new mom it wasn’t always easy to find time to make baby food.  One trick I found helpful was making it in bulk and freezing which made the task quite manageable.

How to make baby food
It is hard to give a specific recipe for making baby food because it is actually very simple.  The only trick is that every fruit and vegetable will have a different cook time.  Basically, you take fresh fruits and vegetables, steam or bake them, and then blend them into a puree.  Some will puree beautifully and others need a little bit of water to get them to a good consistency for baby.  I own a Beaba Cook, which steams and purees all in a few easy steps, however a sauce pan and a blender will give you the same result.

How to store baby food

After you have cooked and pureed your fruits and vegetables, you can take a regular old ice cube tray and pour the puree into the tray cubes.  Freeze for a couple hours and then remove the frozen baby food cubes and place them in resealable freezer storage bags.  Label them with the date and the type of puree.  I always used up the frozen baby food within a month to insure it stays fresh.  Each cube is roughly 1 oz of food.

When you are ready to use the food, just place some frozen cubes in a bowl and heat until room temperature of slightly warmed.  You can also let them thaw overnight in the refrigerator.

I also loved using 4 oz round gladware containers.  They were the perfect size and make taking food on the go very convenient.  And don’t worry all of you conscientious moms, gladware is now bpa free!

Get Creative

Who says baby food need to be boring?  Once you get the hang of making your own baby food, you can start to have a little fun with it.  Here were some of my daughter’s favorite flavors:

pureed peas with mint leaves
pureed baked apples with raisins
pureed sweet potatoes with a dash of cinnamon

Although it may take a little extra time, making your own baby food is a great choice if you are trying to be kinder to the earth. I creates significantly less waste, just think about all the glass jars you won’t be purchasing and throwing away.  And I bet your baby will enjoy the fresh flavors and vibrant colors!

2 Comments

Filed under Cook, Family, Garden

Community Supported Agriculture

Spring is in the air these days and it’s hard not to be excited for all of the fresh produce that is just around the corner.

This spring, I have decided to sign up for a CSA or “Community Supported Agriculture.”  A CSA is a way for consumers to buy fresh produce directly from a farmer and can be found in almost all communities.  Becoming a member will lead you to become a more conscientious consumer all while supporting your local community.

Here’s how it works.  As a consumer, you become a member of a local farm by purchasing a “share.”  You will pay a fee up front at the beginning of the growing season.  Then, every week you will go to a designated drop site and pick up a box of fresh produce from your farm.

The farmer will give you whatever is in season and looking the best that week.  For example, in late June you might receive a box of strawberries, broccoli and other early summer produce and come July or August you might have fresh ripe tomatoes and corn in your box.  The average size share is for a family of 4, although many farms are now offering half shares.

Becoming part of a CSA has advantages for both farmers and consumers.  Farmers receive your payments early in the spring which help them with their cash flow throughout the year.  They are also able to actually meet the people consuming their product which is very important to them.

As the consumer, you are then able to receive and enjoy fresh produce that was grown in your community.  You can also form a relationship with the farmer and sometimes even visit the farm to see how things are done.  My favorite part is getting to try new fruits and vegetables that I would normally not purchase at the grocery store.

If you live in the Milwaukee area and would like more information on finding Community Supported Agriculture, visit the Urban Ecology Center online.  Here you will find a 2010 CSA farm list.  Be sure to look for a drop spot that is convenient for you.

If you live in a different community, just search online or ask at your local grocery store if they know of any farms participating in a CSA.

I just signed up today with Full Harvest Farm and cannot wait to receive my first box in June!

Think Spring!

3 Comments

Filed under Cook, Garden

Spinach, Rice and Ham Casserole

If you celebrated Easter last weekend, chances are you have some left over ham in your refrigerator. After burning out on ham and cheese omelets and ham sandwiches, I searched for a unique recipe that would use up my left over ham.

I came across this Spinach, Rice and Ham Casserole from Martha Stewart. The ham gives this casserole a wonderful flavor and the cheese makes it slightly decadent.

Spinach, Rice and Ham Casserole

Two 10-oz. packages frozen spinach, thawed and squeezed dry
2 cups cooked brown or white rice
2/3 c. whole milk
2 large eggs
1 c. grated Gruyere cheese
salt & pepper
1 tbsp. olive oil
1 medium yellow onion, finely chopped
2 garlic cloves, minced
1/2 c. dry white wine
1/2 lb. ham, diced

Preheat your oven to 375 degrees.

In a large bowl, combine spinach, rice, milk, eggs, 3/4 c. cheese,
1-1/2 tsp. salt, and 1/4 tsp. pepper. Be sure to squeeze as much water as you can from the spinach. If you don’t the dish will turn out quite mushy.

In a large skillet, heat the olive oil over medium-high heat. Add onion and
garlic and cook for about 10 minutes, stirring occasionally until onion is translucent and beginning to brown. Season with salt and pepper.

Add the wine to the onion mixture and cook about 3 minutes or until the wine is evaporated. Then, add the diced ham and cook about 2 minutes or until the ham is warmed through.

Finally, add the ham mixture to the spinach and rice mixture and stir to combine.
Transfer to a 8 inch square baking dish and top with remaining 1/4 c.
cheese.

Bake 25-30 minutes or until the casserole is warmed through and golden brown on top.

Now, I just need to find a way to use up all of those hard boiled eggs…

2 Comments

Filed under Cook, Main Dish

Pesto, Spinach and Tomato Garlic Bread Appetizer

My sister served me the most delicious appetizer at my nephew’s birthday party.  She placed a tray in front of me that had a “loaded” garlic bread surrounded by sliced lemons.  I thought the lemons were an odd choice of garnish until she explained that you need to squeeze a fresh slice of lemon over the bread right before you eat it.  It really brings out the flavors of the spinach, tomato and garlic.  It sounded strange to me, but one bite and I was hooked!  This is an easy go to appetizer that will definitely please a crowd.

Pesto, Spinach and Tomato Garlic Bread Appetizer

1 loaf of frozen garlic bread, sliced horizontally
1/4 cup homemade or store bought pesto
1 medium tomato, seeded and diced
1/2 cup frozen spinach, thawed and drained
1 1/2 cups shredded mozzarella cheese
2 lemons

Spread a thin layer of pesto sauce over the two halves of the frozen bread.  Add the diced tomatoes and spinach evenly on top.  Sprinkle with mozzarella cheese.
Bake at 375 until the cheese melts and the bread is toasty, about 10-15 minutes.

Slice the bread into pieces and serve with lemon wedges.

5 Comments

Filed under Appetizers, Cook