Tag Archives: DIY inspiration board

Office/Guest Room Makeover

I never really liked the old “office” in our house.  With a mish-mash of clunky inherited furniture and drab green walls, it was never a place that I really wanted to work.  Now, with a baby on the way the old office is soon to become the nursery, which means the guest room has to serve a dual purpose. It was the perfect opportunity to create a space that was both functional and inspiring to work in.

BEFORE
When we bought our house, the guest bedroom was a buttery baby yellow. It was fine but not very sophisticated so the first step was to repaint.

AFTER
I swapped out the yellow for a calming grey on the walls, leaving all the moldings and trim bright white. Since I had already refinished the dresser and bed frame in a sleek black, the rest of the room started to take on a black, white and grey scheme with pops of yellow and gold for personality.  The gilded mirror is vintage. The flowers are dried cock’s comb from last year’s farmers market.

Besides repainting, I also rearranged the placement of the bed in the room.  Originally we had the head board placed against the other wall (right wall of this photo) so you could easily make the bed.  However, that would have left no space in the room for a desk.  By just rotating the bed and positioning it against the wall, it created enough space for a desk and chair, plus a much better flow for the room.

The same day I scored the gilded mirror, I found this awesome 1950s yellow chair at a different antique store.  The moment I laid eyes on it, I had to have it and at just $30 it was a steal of a deal.  The pillow cover is from The Home Centric on Etsy.

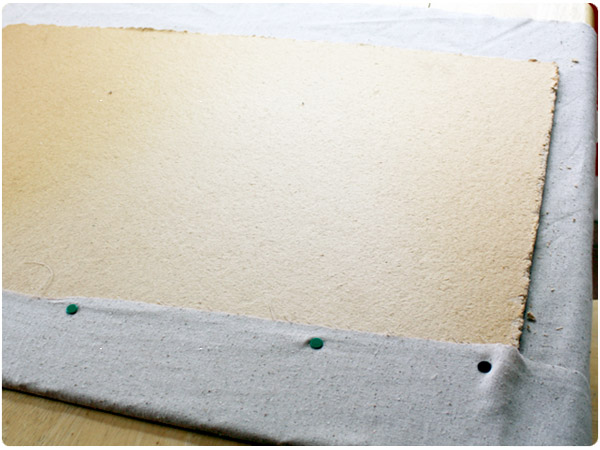
Since the room is not huge, I chose the slim, modern Parsons desk from West Elm and surrounded it with things that will inspire me while I work or blog, like my DIY idea board, fresh flowers and scented candles.  Every day supplies like pens and scissors look decidedly more chic in a vintage milk glass vase.


The closet got a major overhaul, organizing gift wrap and craft accessories into various storage bins, bags and shoe boxes. Reducing the extra clutter makes it much easier to find the items I need and make notes when I run out of supplies.


The final project will be to frame a very large world map for the large wall above the bed. Since framing something that large costs a fortune, I’m currently scheming ideas for a DIY framing project. Stay tuned!

Advertisement

12 Comments

Filed under Decorate

How To: Pretty Inspiration Board

I’ve been deep in the trenches of turning my lackluster guest bedroom into a more sophisticated guest bedroom/office space. One of the key objectives was to create a space that would fuel creativity for the design work and many crafty projects that I do at home and there’s no better way to do that than with a DIY inspiration board!

I found the frame at Goodwill months ago but hadn’t been quite sure what to do with it.  Finally with the inspiration board in mind, I ditched the blah artwork and transformed the frame into a pretty and functional creative center by covering an old bulletin board with some nubby, neutral fabric.

inspiration board

Need some inspiration of your own?  Use the instructions below:

What You’ll Need:
empty picture frame
high gloss spray paint
drop cloth
bulletin board
box cutter
1 yd fabric*
staple gun or thumb tacks
1/8″ offset frame clips
sawtooth frame hangers
*Adjust the yardage based on the size of your bulletin board.

1. Spread out your drop cloth in a well-ventilated area. Spray paint your empty picture frame. Dry and spray a second coat. Dry.
2. Measure the inside of your frame. Transfer the measurements to the center of your bulletin board, marking off cutting lines to fit inside the frame.
Tip: Just buy a cheapo bulletin board from Target or a craft store…or use one you already have. It doesn’t need to be nice since you’ll be cutting it apart.
3. Carefully and slowly use a box cutter to cut through the bulletin board along the cutting lines. Cut each side and pop the piece out. Scrape any messy edges so that the edges are fairly smooth.
Tip: Since you’ll be cutting through the board with some pressure, be sure to cut on a safe surface that you don’t mind poking or scratching. I did it on the floor in my basement.
4. Iron your fabric and stretch it out on a large flat surface. Place your bulletin board on top of the fabric, cork side down.
5. Start by folding the fabric over the edges of the board, leaving a few inches beyond the edge. Trim excess if necessary. Fold in the corners to form right angles and pull the fabric tightly across the back of the board. Secure with a thumbtack or a staple gun. Repeat for each side of the board.

DIY Idea Board
6. Press covered bulletin board into the empty frame. Place two frame clips evenly spaced along the inside edges of the frame.  Screw each clip securely into the frame.
7. Measure equally from the top edge of the frame the sides and mark where you will place your frame hangers. This will make it easier to hang the frame level on your wall. Press or nail the sawtooth hangers into the back of the frame.

Framed Bulletin BoardDIY Inspiration Board

Stay tuned to see the rest of my office makeover coming soon!

3 Comments

Filed under DIY