
Valentine’s Day is not my favorite holiday. If not for my dislike for chocolate, my hatred for overpriced greeting cards and crowded restaurants, maybe I would enjoy it a bit more. But I am not a total curmudgeon. I still like to sprinkle my house with a few hearts and kisses and share an extra hug or two.
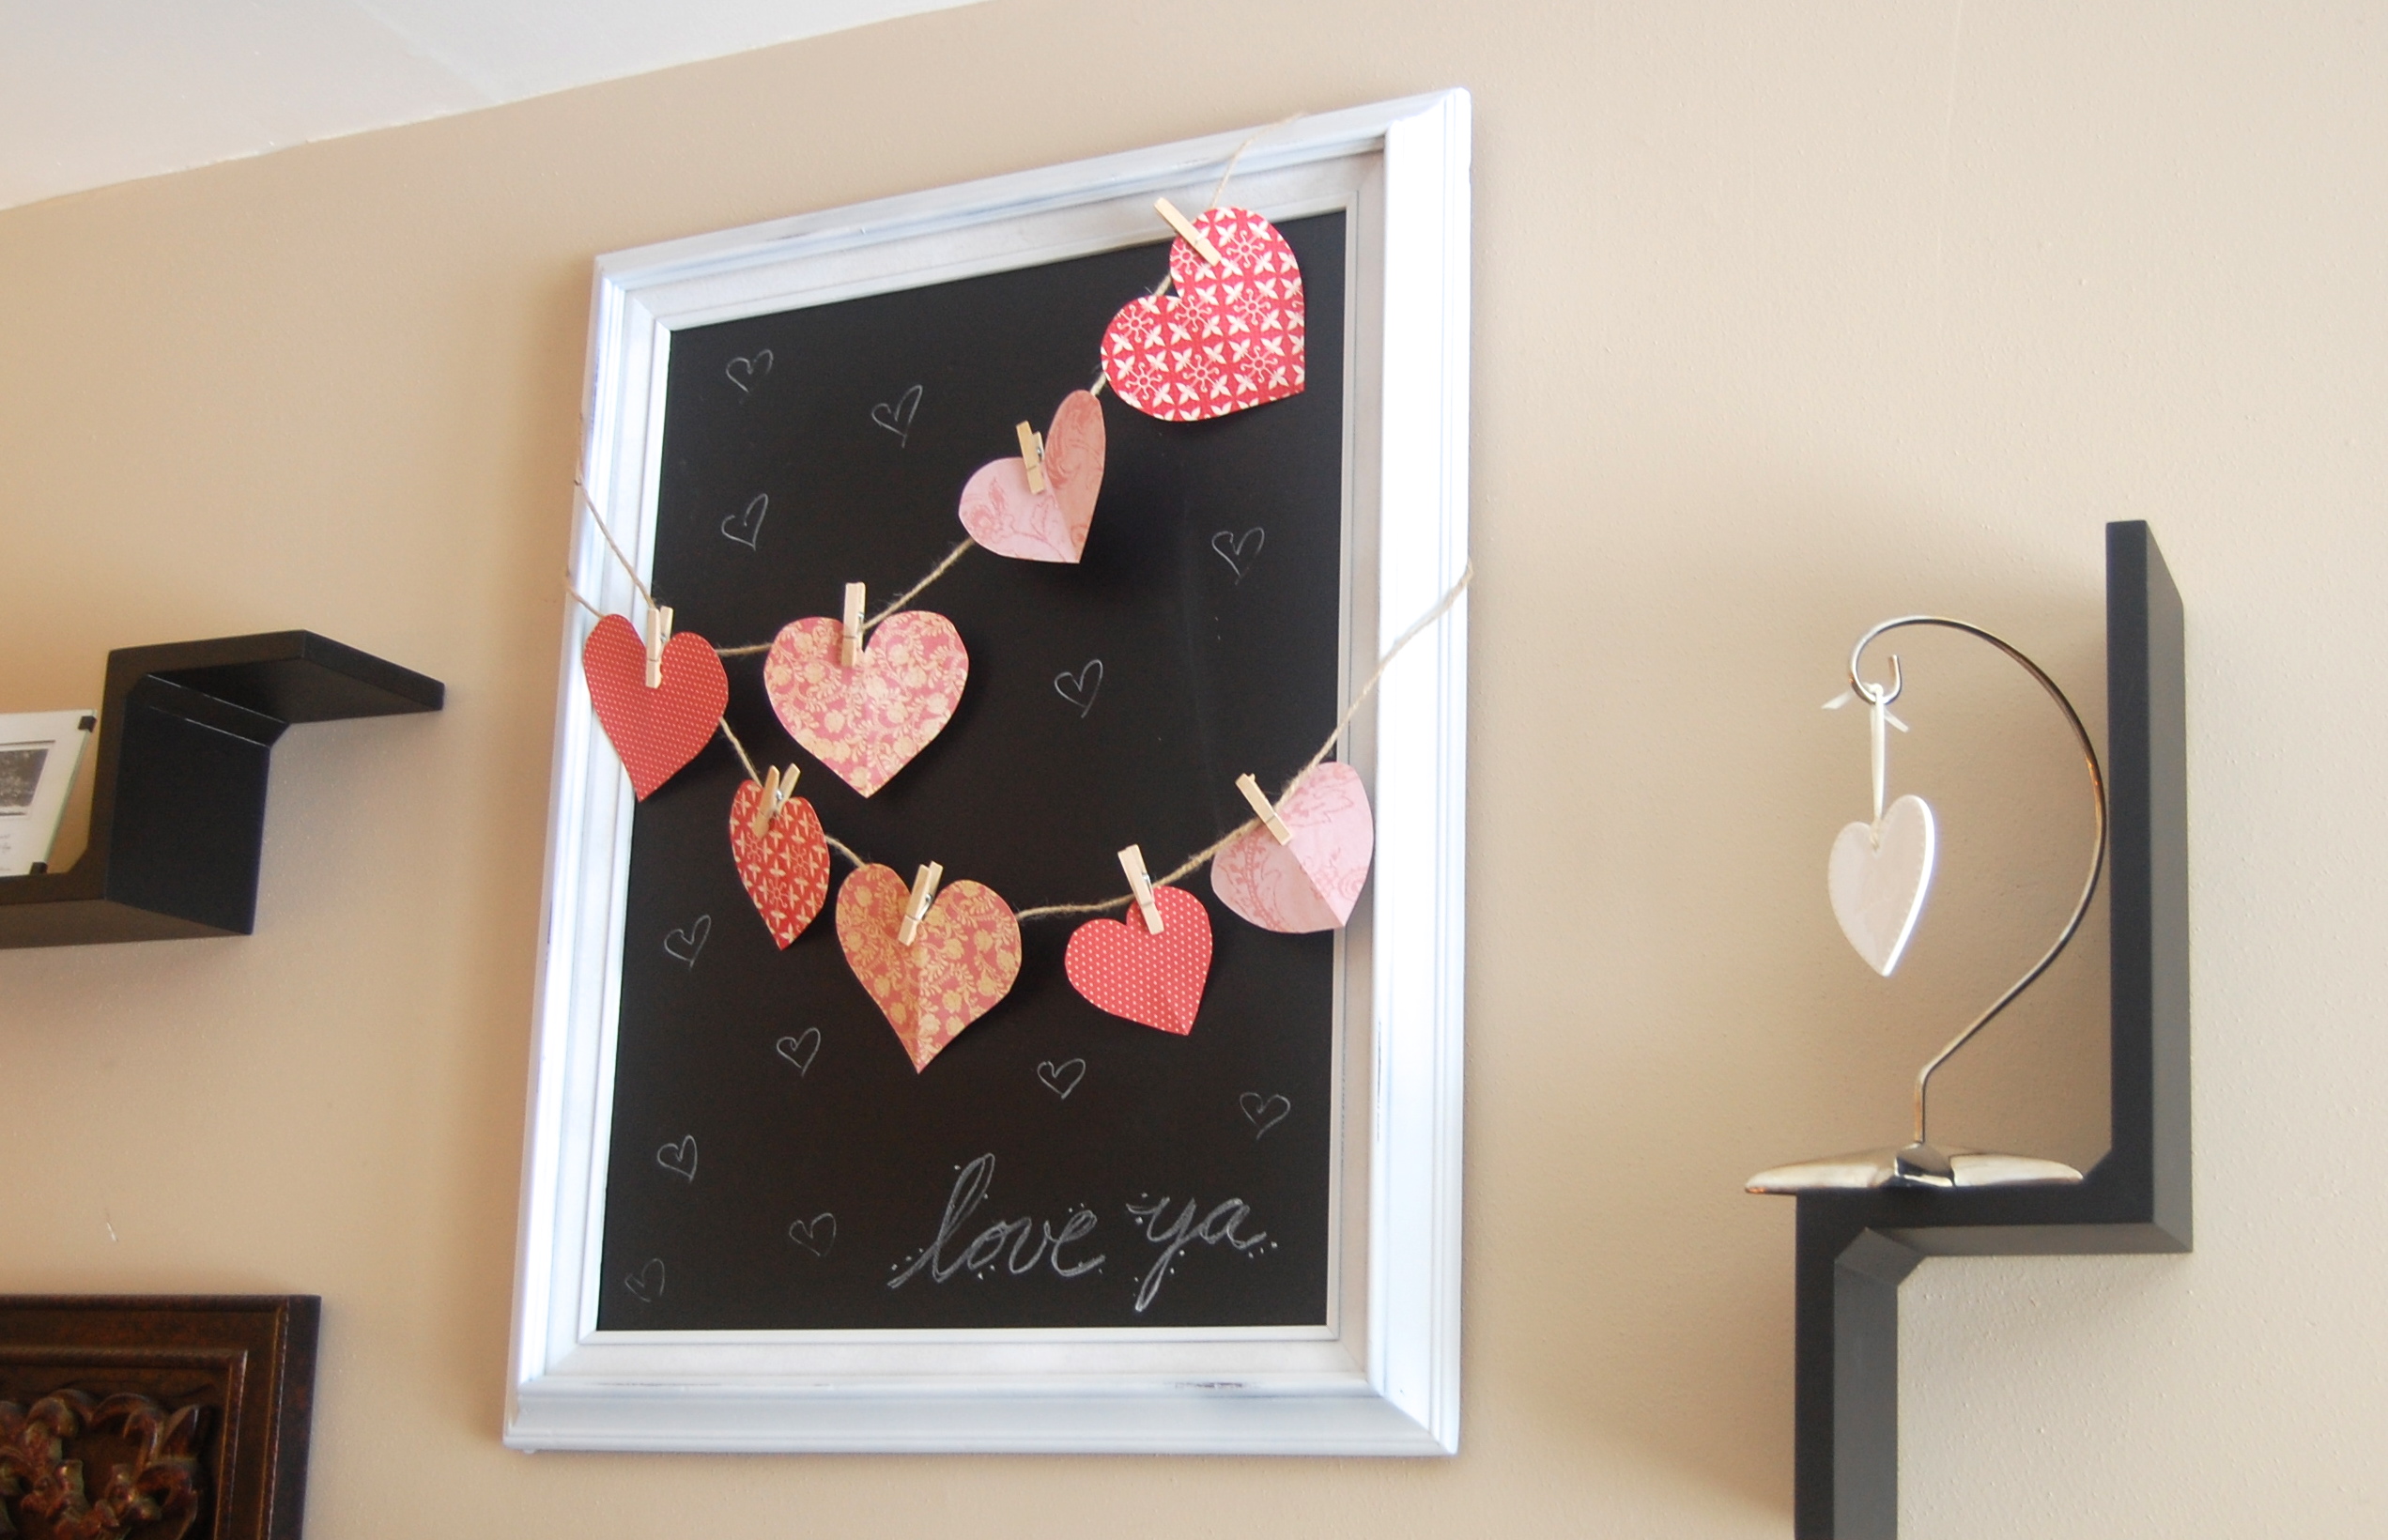
I am constantly seeing gorgeous pictures of holiday mantles. Unfortunately for me, I have no mantle. I use the space above my living room TV as a mantle, using shelves, pictures, wreaths and frames to break up the large wall. This Christmas I purchased a large, old frame for $2 from Goodwill and did a little chalkboard rehab on it (similar to this post). I hung it above my TV, tied a wreath on with some fabric and wrote “peace” at the bottom. I fell in love with it and decided I would use it all year long and switch it up of the different holidays and seasons.
For Valentine’s Day, I used all items I have laying around the house. It took about 10 minutes and brings cheer and color to the room!
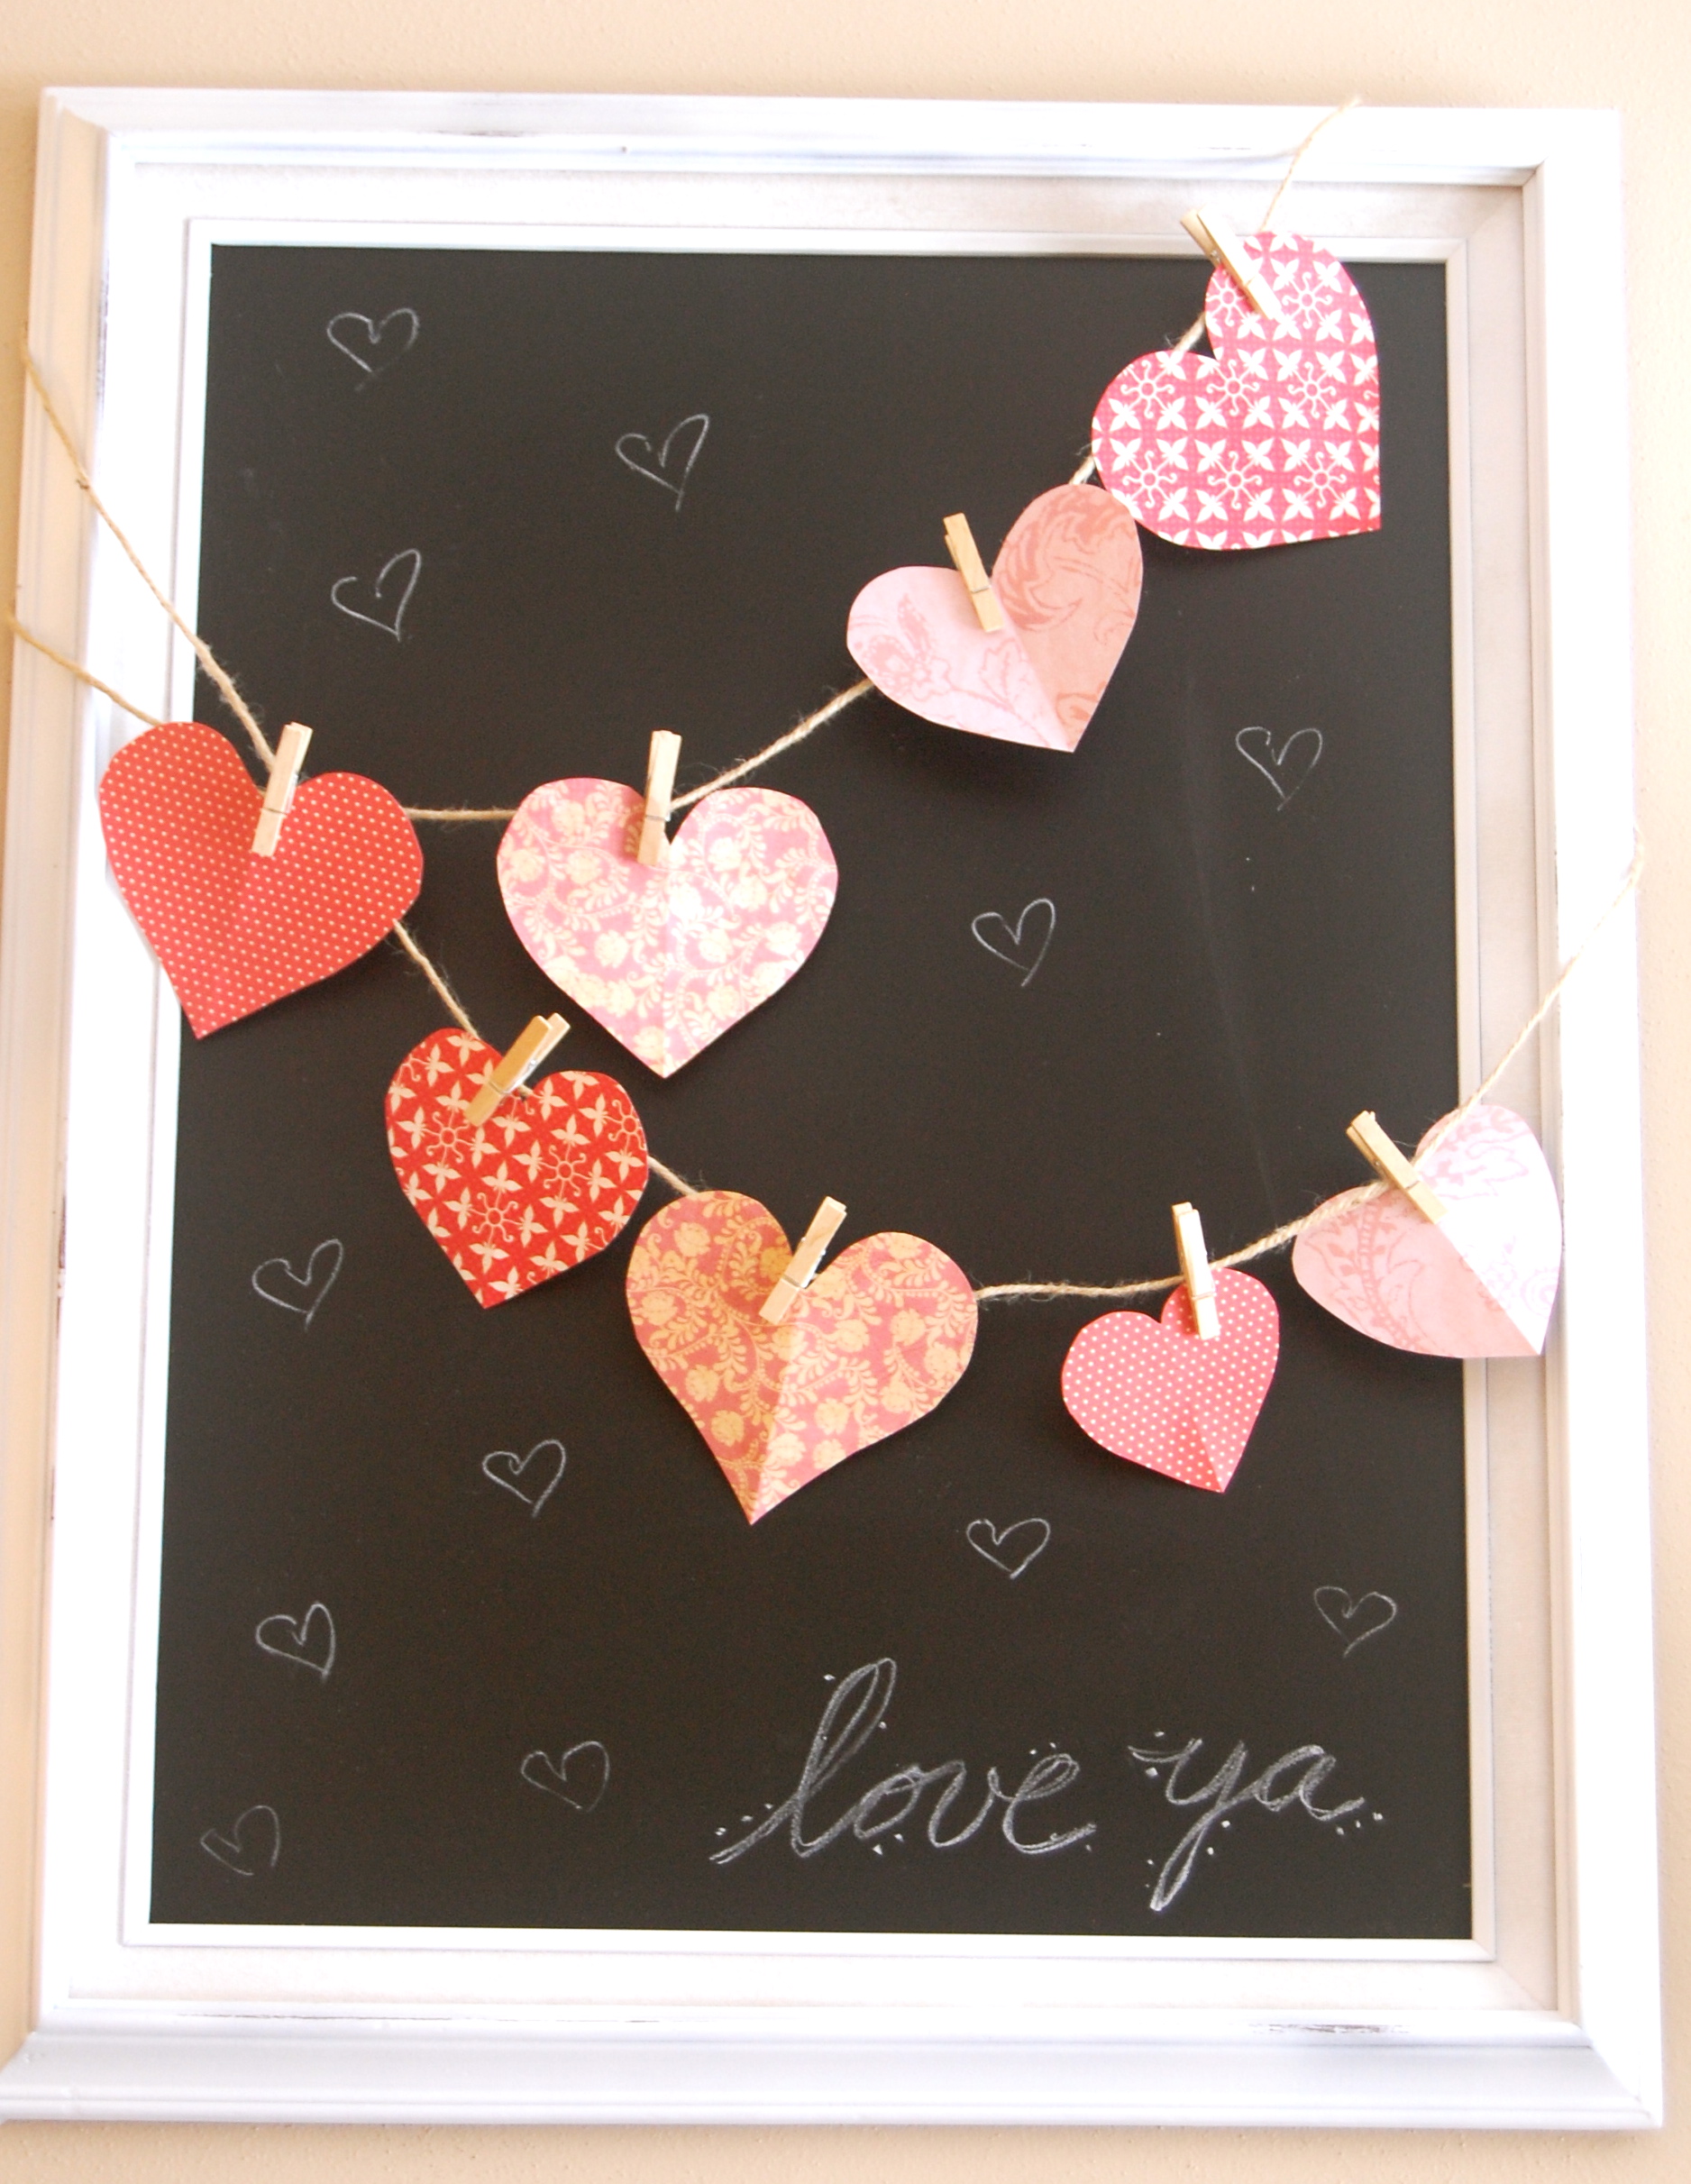
DIY Valentine Chalkboard Decor
What you need:
Red and pink patterned scrapbook paper
Jute
Flat pushpins
Mini wooden clothespins
Chalk
Fold paper in half. Draw half-hearts and cut around with scissors. Make in slightly different sizes and shapes. I made four for each jute strand, eight in total.
Cut jute to desired lengths. Stick pushpin through the jute and affix to the back of the frame. Drape across the front and pin the other side to the opposite backside of the frame. Overlap for the second strand, following the same process.
Clip paper hearts to the strands. Write your favorite love phrase at the bottom with a few small hearts drawn with chalk and hang on the wall.
This is a very easy, very quick project. If you were more ambitious, you could sew some small fabric hearts to attach to the jute strands.
Wishing you a very happy Valentine’s Day from Haute Apple Pie! Check out the links below for other Valentine projects and recipes:
Free Valentine’s Day Typography Download
Sew Sweet Valentines
Picture Perfect Valentines
Orange Scented French Toast with Nutella
Cinnamon French Toast with Cranberry Orange Chutney
Valentine’s Date Night In
Velvety Hot Fudge Sauce
Berry Mousse Pie


 Subscribe by Email


